

Sometimes, you look at a plain bedroom wall and just feel bored, right. I have been there, staring at a blank space, wondering how to add some real personality. If you love building, you know the struggle of keeping your sets safe, while trying to make them look like actual decor, and not just piles of messy plastic.
People often make the mistake of scattering tiny builds everywhere, which just looks like a cluttered disaster area, trust me. You need a plan, or your room will look like a toy store exploded, which is never the look you want. I have tried every trick in the book, from shelves to frames, so you do not have to guess.
We will talk about 10 lego bedroom decor ideas today. I will show you how to display your favorite bricks, keep things tidy, and make your space look sharp, modern, and fun. It is time to turn those plastic blocks into art, so get ready to move things around, because your room is about to get a serious upgrade.
Floating Shelves for the Wins
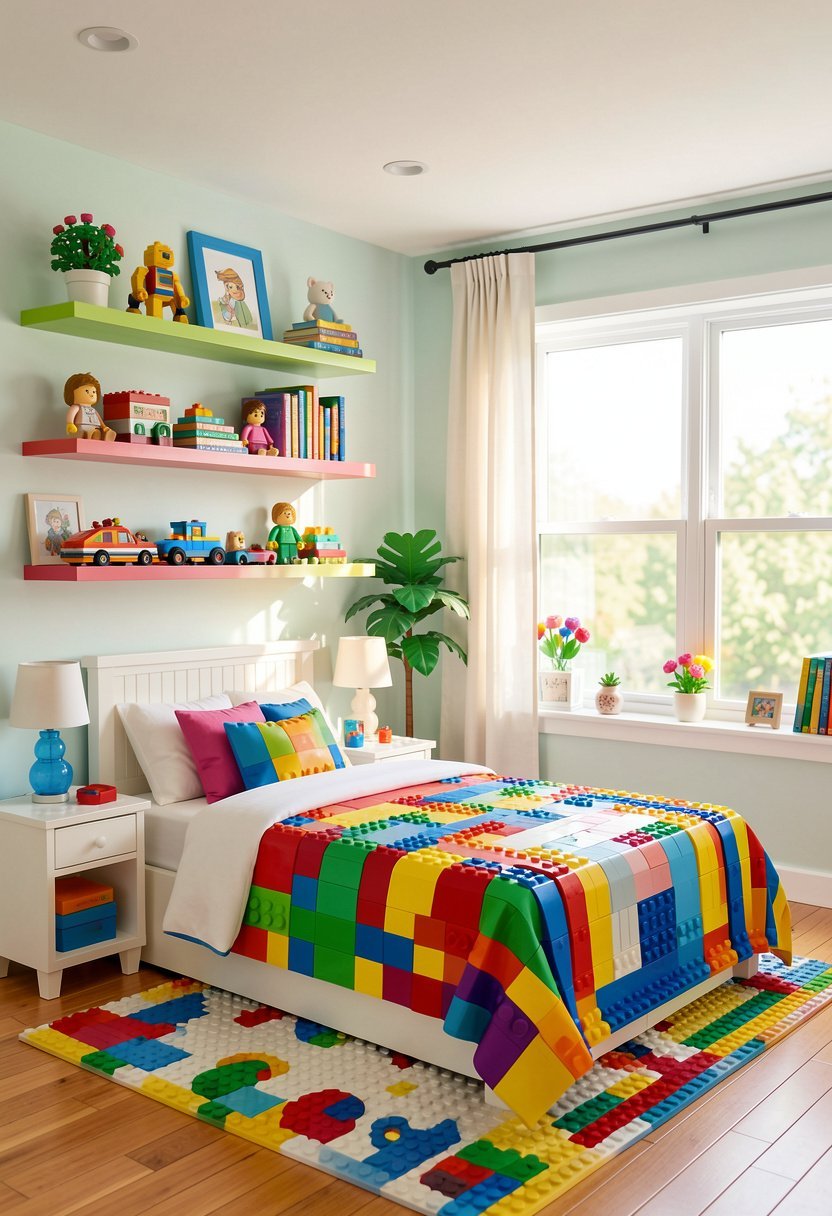
You probably have some spare sets gathering dust, and it hurts my soul to see them lonely. Floating shelves are the easiest way to show off your hard work, and they keep your floor clear, which makes a small room feel huge. Just mount them at eye level, and space them out well, because crowding kills the vibe.
I see people cramming sets together, and it ruins the detail, so give each build some breathing room. Use deep shelves, because some sets are wider than you think, and nobody wants a disaster where a set falls off. I like to group them by color, or by theme, which creates a clean, intentional look that shows you actually care.
Keep your most prized builds on the top, where they are safe from bumps. If you have a favorite, give it a dedicated spot, because centerpieces matter, and your room should reflect what you truly love building.
- Use deep, sturdy shelves for safety.
- Group your builds by color themes.
- Keep your favorite sets front center.
- Leave space to avoid messy clutter.
Frame the Minifigures in Style
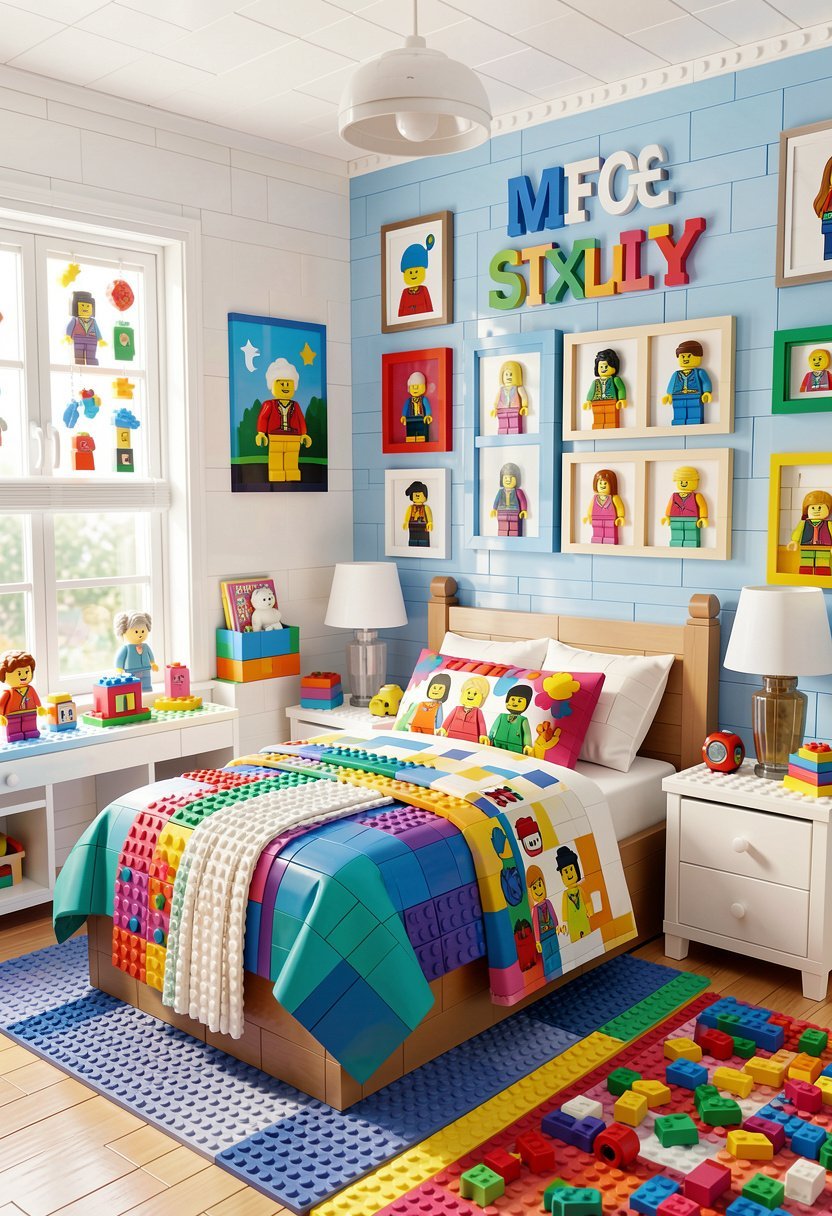
Minifigures are the heart of your collection, but they get lost easily, and seeing them tip over is just the worst. I use shadow boxes with tiny studs glued inside, which keeps them standing perfectly, and protects them from dust. It turns your tiny guys into professional art, and it looks like a museum display.
Stop just tossing them in a bin, because that is how parts vanish, and nobody wants to hunt for a missing hair piece. A glass front keeps them clean, and it makes dusting a breeze, which is a major win. You can even add backgrounds that match the theme, like city streets or space scenes, to make them pop.
Hang these frames in a grid pattern, or mix them with other art, because versatility is key. It creates a cool focal point, and it shows guests that you value the details, which is exactly the kind of polish your room needs to feel grown up.
- Use shadow boxes for clean display.
- Glue studs to hold figures steady.
- Add themed backgrounds for extra flair.
- Group frames for a gallery wall.
Under Bed Storage with Wheels
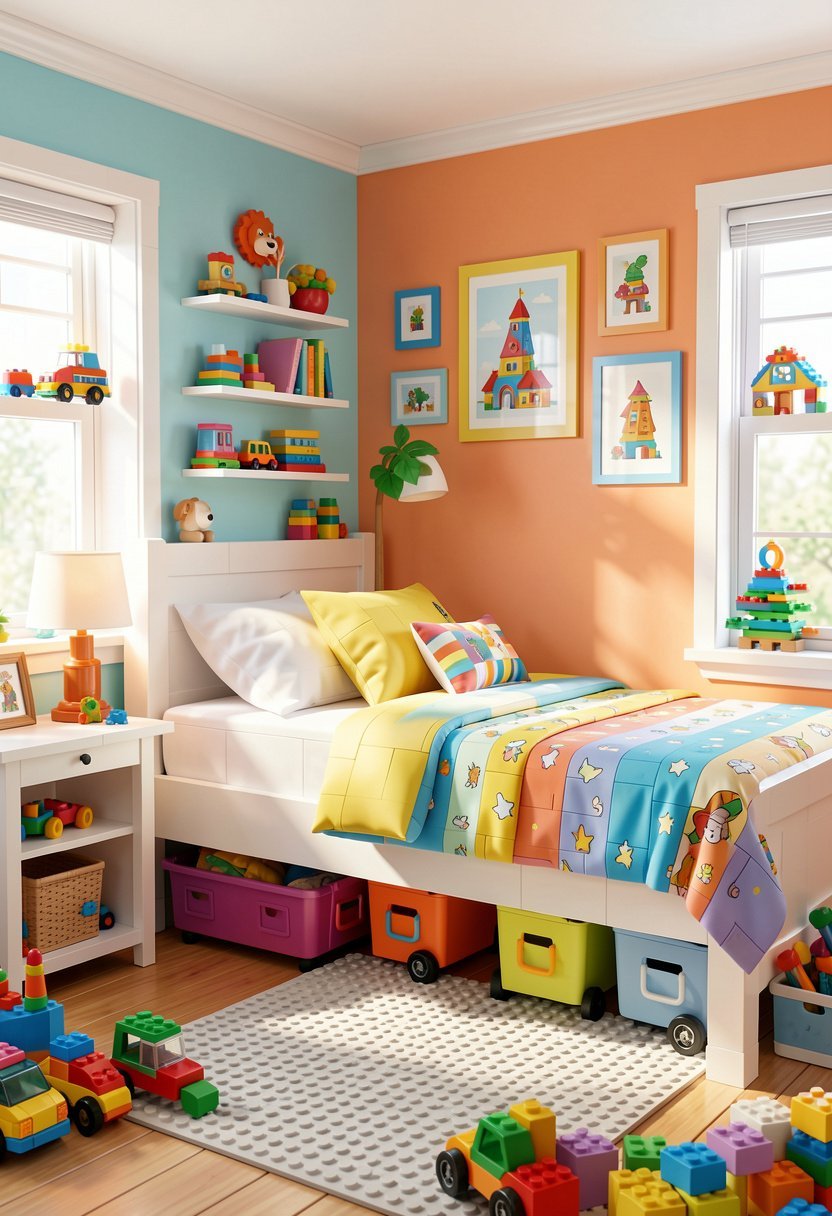
If you have a massive collection, you cannot show everything, and that is just a simple reality. I built rolling trays that slide under my bed, and it saves me so much stress. You can sort by color, or by set, which makes finding pieces for your next big build much faster than digging through deep boxes.
Cheap plastic bins break, and they are ugly, so use wood crates with wheels instead. It slides out smooth, and you can pull it into the light, so you never strain your eyes looking for a specific brick. It is hidden, organized, and totally out of the way, which keeps your floor clear for other things.
Label the outside of every tray, because you will forget what is inside after a week. It keeps your creative process moving, and it stops the floor from becoming a minefield of sharp, painful plastic pieces during the night.
- Use wood crates for long durability.
- Add wheels for smooth, easy access.
- Keep things sorted by set types.
- Label everything to save your time.
Corner Display with Tall Towers
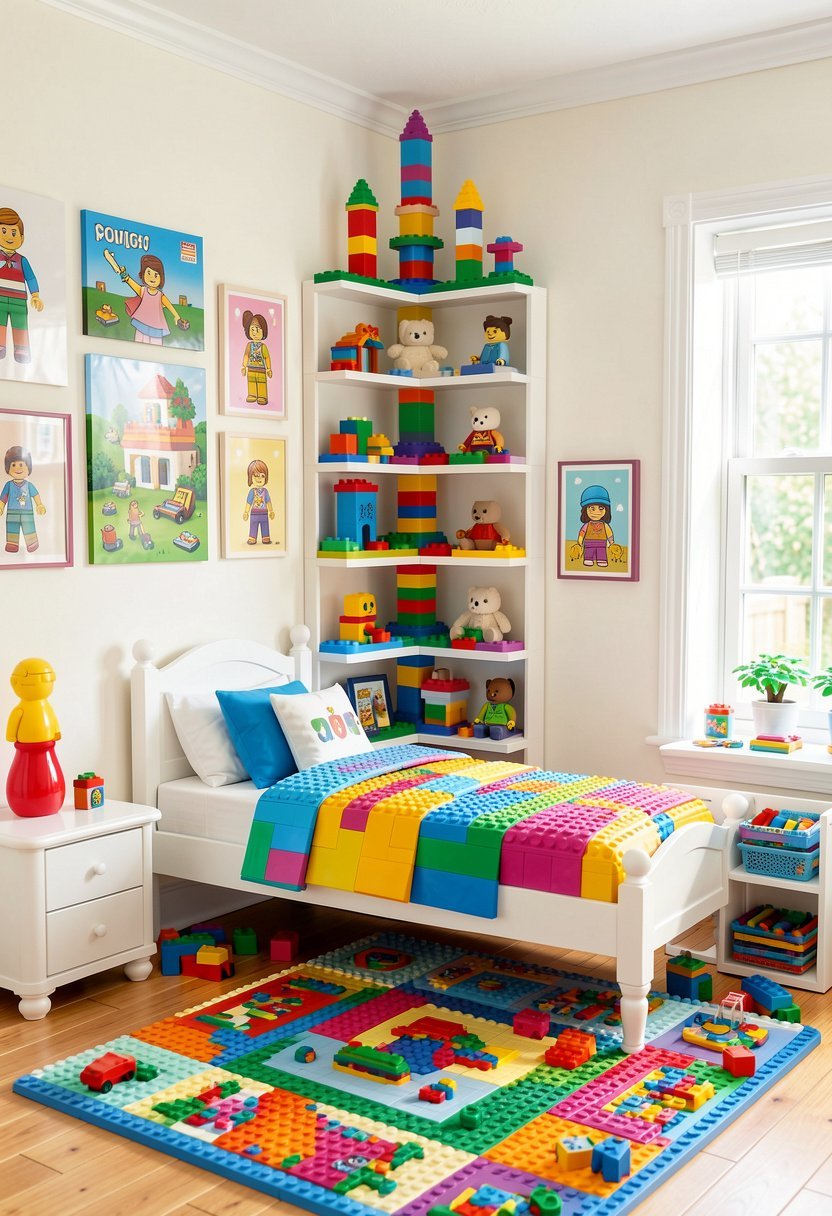
Corners are usually dead space, but they are perfect for tall sets, and you are wasting them if they stay empty. I put a tall, slim tower in the corner, and it draws the eye up, which makes the whole ceiling look higher. It turns a boring spot into a real design feature that feels deliberate.
Most people shove a chair in the corner, but that just collects laundry, so swap that out for a nice build. Keep the tallest sets on the bottom, and work your way up, because balance is everything. If you have a light kit, this is the perfect spot for it, because the dark corner will glow.
A corner display adds depth to a room, and it feels like a professional touch. Just make sure the stand is steady, because you do not want your hard work tipping over, and a wall anchor is your best friend here.
- Use tall towers to fill corners.
- Place largest sets on the bottom.
- Add lights for a glowing effect.
- Anchor stands to the wall securely.
Wall Mounted Pegboards for Parts
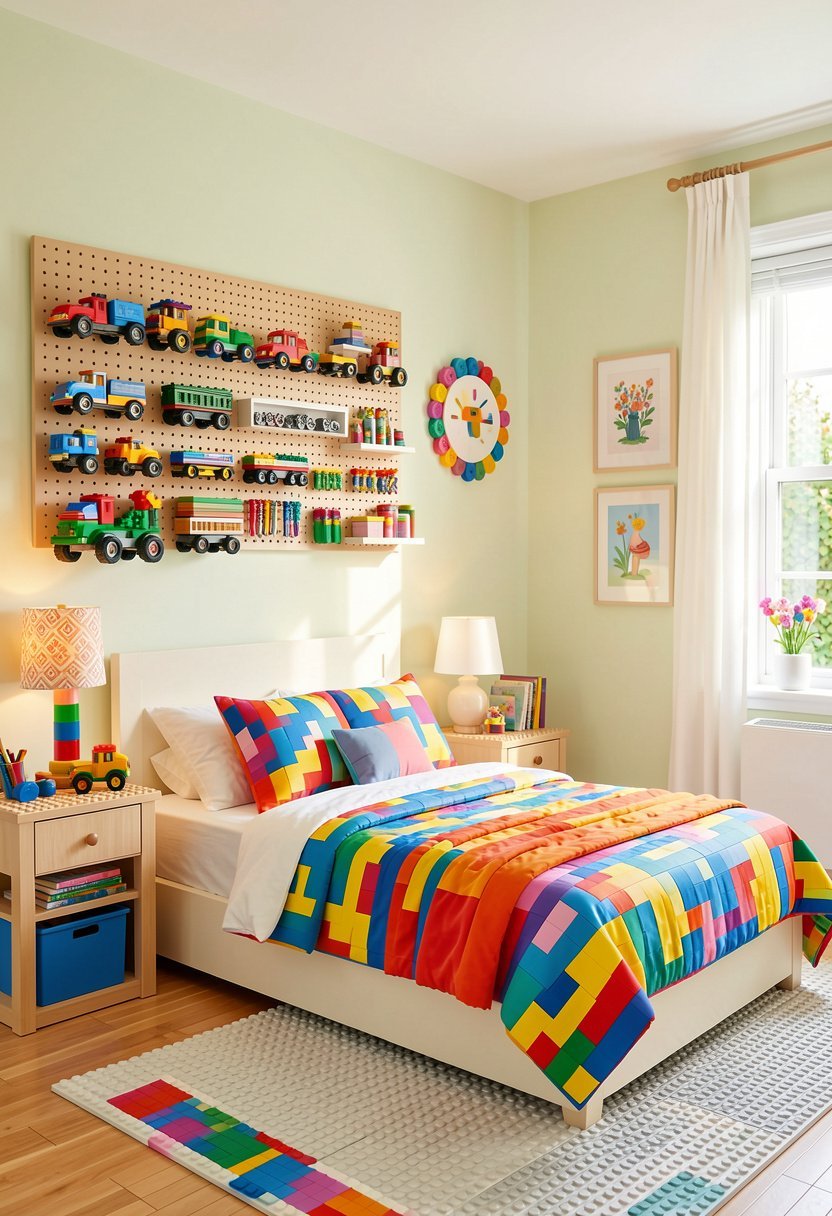
I love pegboards because they look industrial, and they are insanely useful for keeping your spare parts right where you need them. You can hang little bins, or even flat baseplates, which keeps your desk clear for building. It is a smart organization hack that looks like a pro workshop wall.
Stop leaving loose bricks on the desk, because they vanish or get knocked off, and it drives me crazy. With a pegboard, every part has a home, and you can see exactly what you have at a glance. It saves money too, because you will not keep buying bricks you already own.
Keep the most used colors in the middle, and keep the rare stuff high up. It makes your room look like you are a serious builder, and it saves so much frustration when you are in the middle of a project.
- Mount pegboards for instant organization.
- Use small bins for sorted bricks.
- Keep frequent parts within easy reach.
- Display your board as room decor.
Glass Cabinets with Interior Lighting
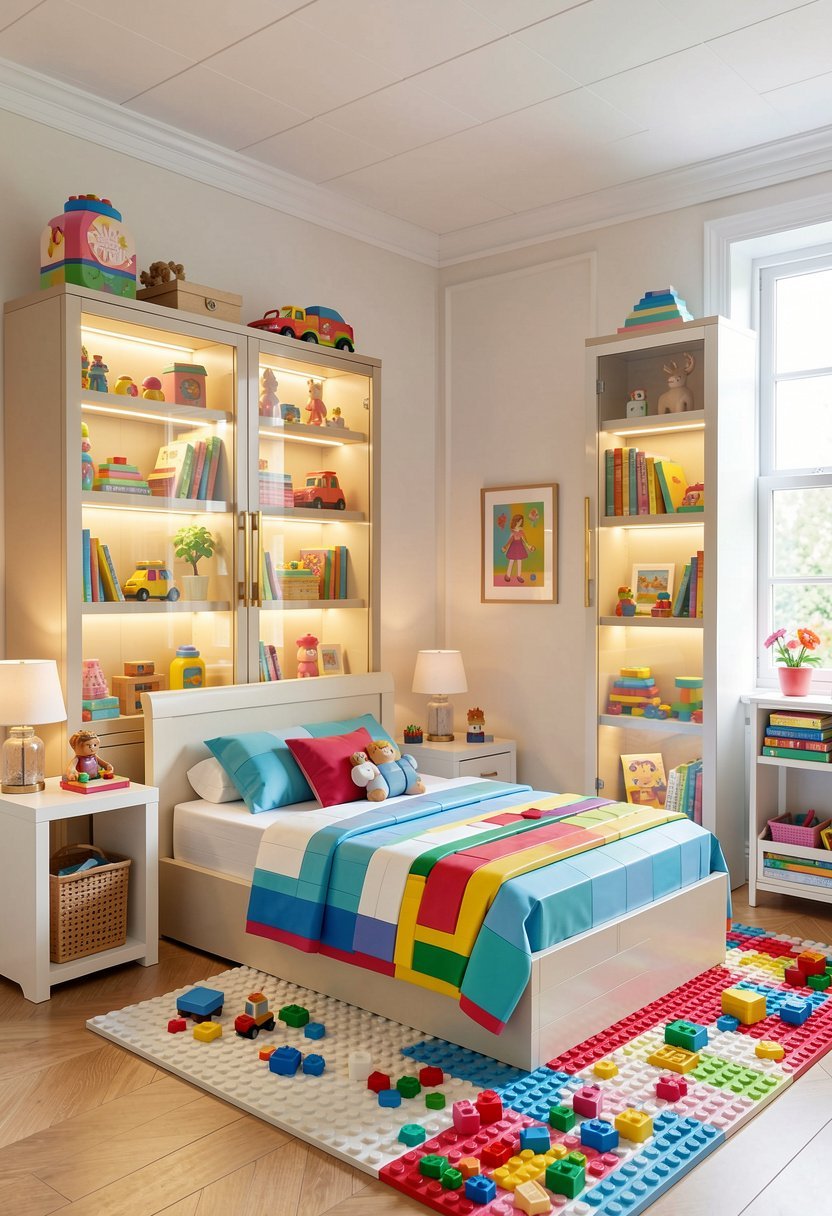
If you want to feel fancy, a glass cabinet is the only way to go, and it is worth every cent. I use a cabinet with locking doors, because it protects my most expensive sets from dust, and it keeps curious hands away. Adding LED strips inside makes your builds shine, which turns them into glowing night lights.
Cheap cabinets with thin glass are dangerous, so please do not go for the lowest price. Get something stable, and look for adjustable shelves, because your sets will be different heights. Lighting is the secret sauce here, and it makes the whole thing look like a high end shop window.
You should organize by series, so everything feels connected. Keep the biggest builds on the lower shelves, and group smaller figures up top, which creates a clean, balanced look that is super easy to maintain.
- Protect sets with glass door panels.
- Use LED strips for bright display.
- Pick cabinets with adjustable shelves.
- Group your series by shelf level.
Custom Baseplate Wall Art
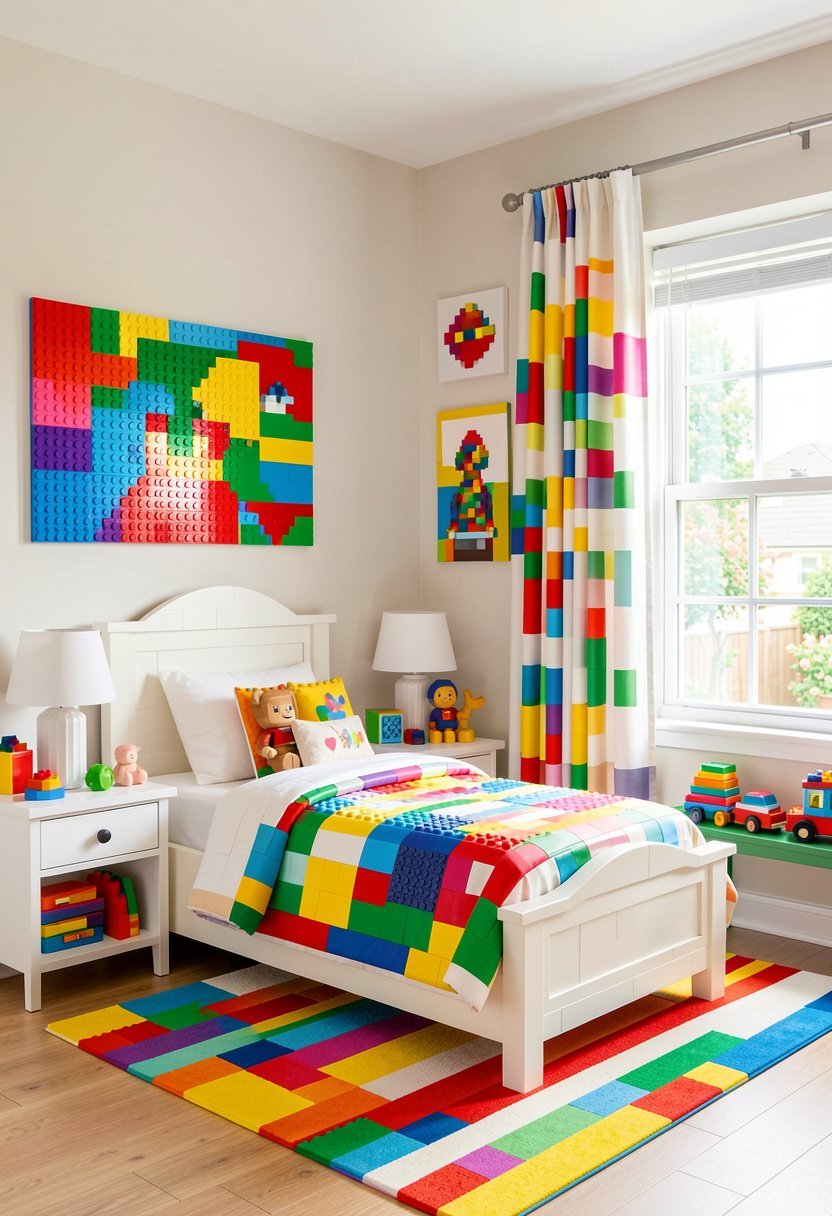
Instead of just putting sets on shelves, use baseplates to create a giant, flat wall display that looks like modern art. I have a large wall space filled with baseplates, and I swap out small builds whenever I feel like changing the mood. It is a creative wall decor choice that stays fresh and fun.
Avoid using super glue, because you will regret it, and you can just use Command strips to stick them. You can create patterns, or solid blocks of color, which adds a cool, pixelated look to your room. It is a very cheap way to cover a large wall, and it looks much better than a poster.
If you get bored, just move them around, because that is the beauty of it. You are never stuck with one design, and you can add new builds as your collection grows. It is the most flexible idea I have ever found.
- Use large plates for wall coverage.
- Stick them with removable wall strips.
- Rotate builds to change the look.
- Create patterns with different colors.
Floating Desk for Building Space
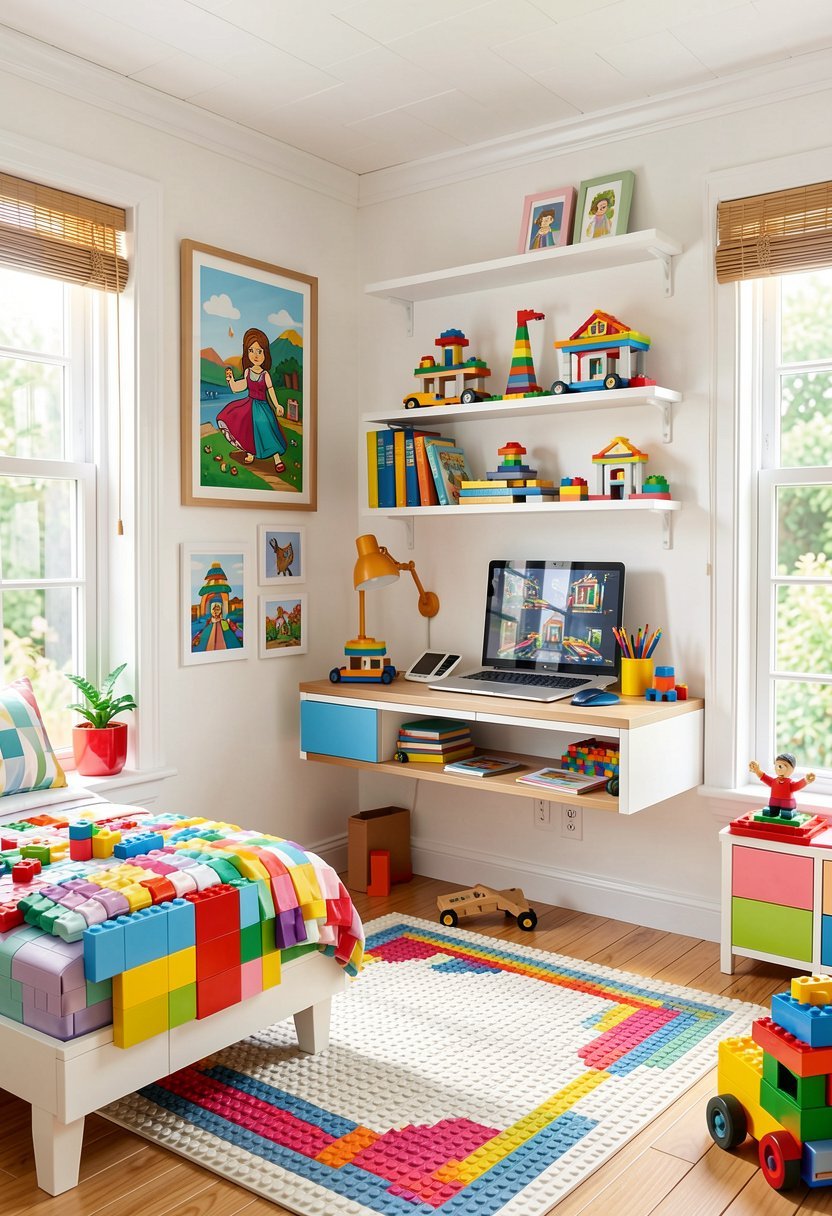
A build desk is non negotiable, but bulky desks take up too much room, so get a floating one. It is attached to the wall, and it has no legs, which makes the room feel much larger. You get a perfect spot for your creative workspace, and it keeps your floor totally open and airy.
People build on their beds, and that is a mistake, because pieces fall into the sheets and you lose them forever. A dedicated desk keeps your focus, and a clean edge helps you sweep errant bricks into a tray. It makes building feel like a job, and it looks very clean when you are done.
Mount it at the right height, so you are not hunched over, because your back will thank you later. I keep mine clear of everything except my current project, so I can start building the moment I walk into the room.
- Mount desks for a floating look.
- Keep the surface clear for building.
- Set the height for good posture.
- Use trays to keep parts contained.
Ceiling Mounted Hanging Displays
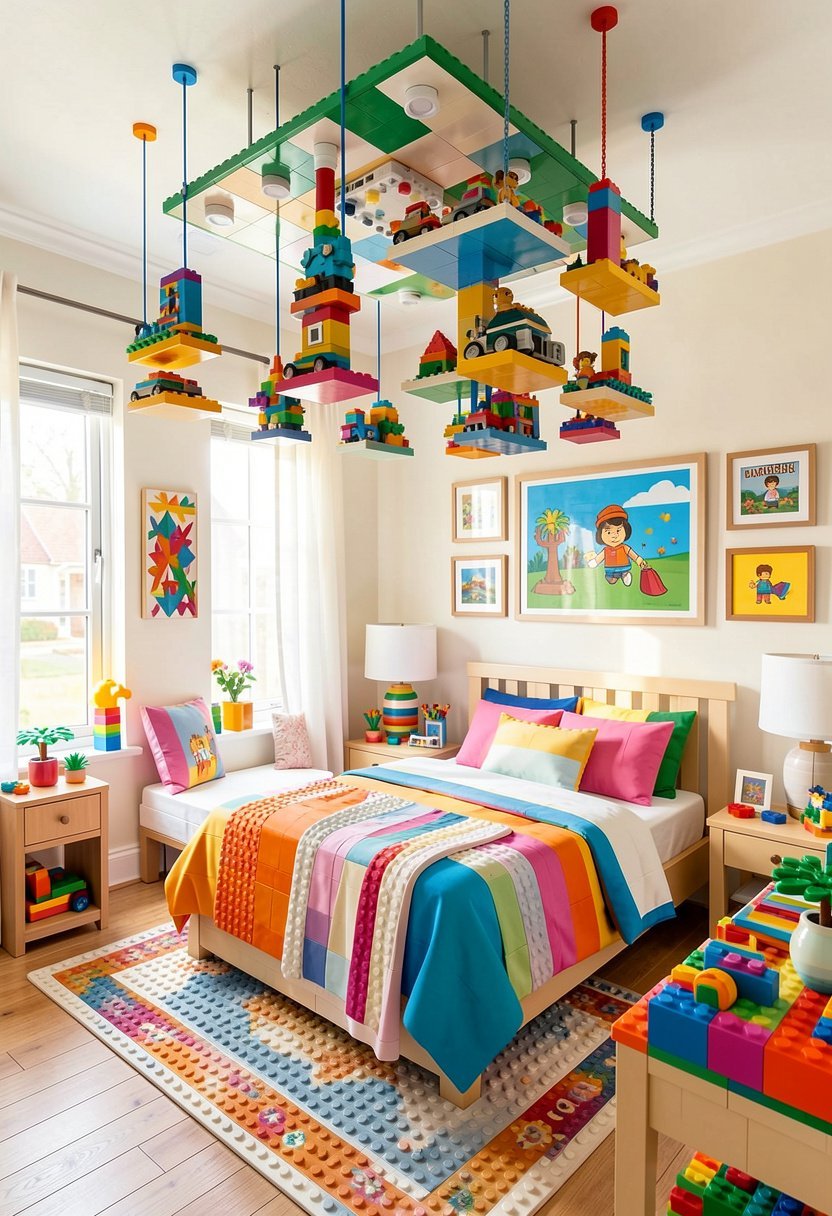
This one sounds wild, but hear me out, because hanging ships from the ceiling is a total game changer. I use fishing line to hang my space ships, and it makes them look like they are floating in mid air. It uses up that empty space above your head, which makes for cool bedroom themes.
Do not hang them too low, or you will hit your head, and that is a bad time for everyone. I keep mine near the corners, or over the desk, so they stay out of the way. It turns your ceiling into a galaxy, and it is the first thing people notice when they walk in.
Make sure your hooks are strong, because you do not want a crash landing on your bed. Use thin line that is hard to see, because that is how you get the floating effect, and it looks like real magic.
- Hang ships with clear fishing line.
- Keep height high to avoid bumps.
- Group them near corners for effect.
- Check your hooks for strong support.
Color Coded Storage Bins
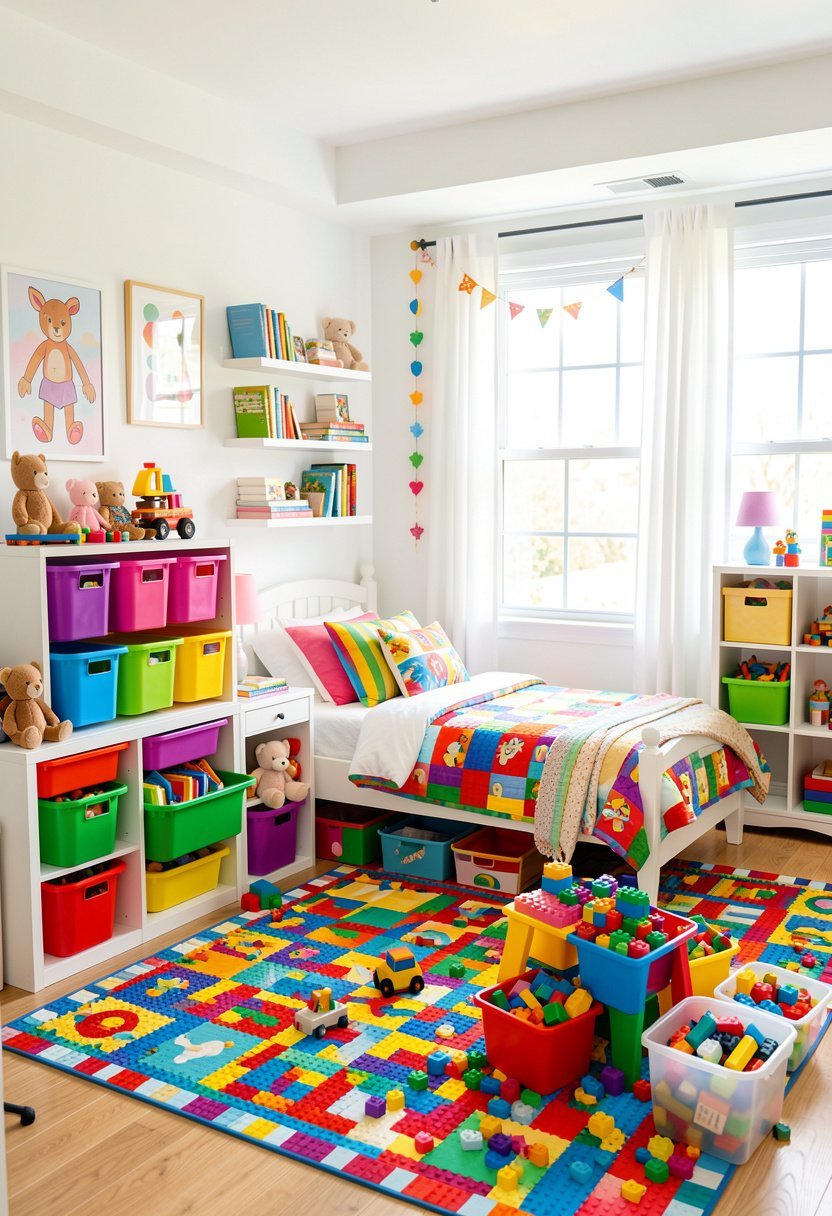
Final tip, and this is the one that keeps you sane, because loose bricks are the enemy of happiness. I use clear, stackable bins, and I sort every single part by color. When you have a well organized space, you can actually finish a project without wasting hours looking for one tiny red piece.
Do not use giant tubs, because you will just dig to the bottom, and that is a waste of your energy. Smaller bins are better, because you can pull down exactly what you need. Put them on open shelves, and they look like a rainbow, which is a great pop of color for your room.
Label them clearly, because even if you think you will remember, you will not. It makes cleaning up after a build session fast, and it keeps your room looking like a place for an adult, not a child.
- Sort parts by color for speed.
- Use clear bins to see contents.
- Stack bins to save desk space.
- Label everything for quick access.
Final Thoughts
I hope these ideas help you turn your mess into a masterpiece, because you really deserve a space that feels like you. Stop worrying about making it perfect, and just start building, because the best part is seeing your style come to life. You do not need to do everything at once, just pick one, and go for it. You have got this, so have some real fun.
| Tip Type | Best Use | Pro Level |
|---|---|---|
| Shelves | Big Sets | Easy |
| Frames | Minifigures | Medium |
| Crates | Bulk Parts | Easy |
| Towers | Corners | Medium |
| Pegboards | Tools | Hard |
| Cabinets | Rare Sets | Hard |
| Plates | Wall Decor | Easy |
| Desks | Building | Hard |
| Hanging | Ships | Medium |
| Bins | Sorting | Easy |
| Lighting | Vibe | Medium |
| Anchors | Safety | Hard |
| Labels | Order | Easy |
| Trays | Parts | Easy |
| Stands | Balance | Medium |
Frequently Asked Questions (FAQs)
Is It Safe to Hang My Lego Sets From the Ceiling?
It is safe if you use strong hooks and thin fishing line, but you have to anchor them into the ceiling joists. Do not use tape or light clips, because they will fail eventually. Always test the weight before you leave it up.
Can I Use Glue to Keep My Lego Decor On the Wall?
Please do not use glue, because you will ruin the plastic forever. Use removable mounting strips instead, so you can take them down without damage. If you use glue, you cannot change your display later, which is a massive mistake for any collector.
Are Glass Cabinets Worth the Money for a Bedroom?
They are absolutely worth it if you have sets that are hard to clean or very expensive. Dust is the enemy, and a glass cabinet keeps your collection looking new for years. It turns your room into a display space, which adds huge value.
Do I Need Special Lights for My Lego Display?
You do not need special lights, but LED strips are the best because they stay cool. Heat from old bulbs can warp plastic, so stay away from those. Keep it simple with modern, low heat lights, and your collection will look fantastic and stay safe.
Does Sorting by Color Actually Help with Decor?
Sorting by color makes your storage look like a rainbow, which is a great design choice for any room. It also makes finding parts much faster, so it is a win for both looks and function. A messy pile of parts is never decor.
Should I Put My Lego Sets in Direct Sunlight?
You should never put them in direct sunlight, because the sun will turn your white bricks yellow. It ruins the look, and it lowers the value of your sets. Keep your shelves away from windows, or use heavy curtains to block the harsh light.
Will Heavy Lego Sets Stay On Floating Shelves?
They will stay if you use deep shelves and wall anchors. Always check the weight limit on the shelf brackets before you put a heavy set up there. If the shelf flexes at all, take the set off and use a stronger bracket.
Can I Mix My Lego Decor with Other Room Items?
You should mix them in, because a room full of only plastic bricks feels a bit cold. Pair them with plants, books, or art to make the space feel balanced and personal. It makes the lego feel like part of your home decor.